I’ve written before about
my truck, a 1991 Toyota Hilux.
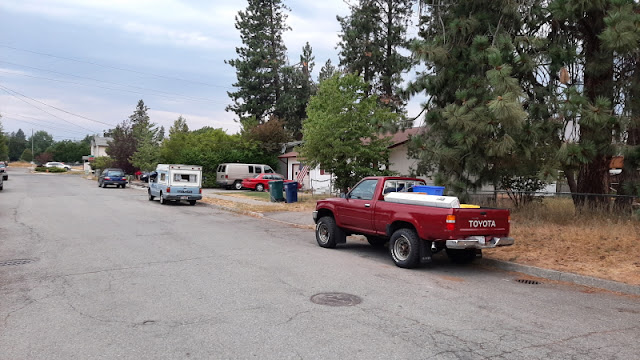
This was my grandfather’s truck years ago; it went to my father and then to
various of my brothers before I acquired it last year. It was in pretty rough
shape, having sat at the back of my parents’ driveway for several years:
I had it hauled down to a mechanic to verify it would start and
run and, several weeks later when I was able to fly out, I drove it back up to
my parents’ house and set to work.
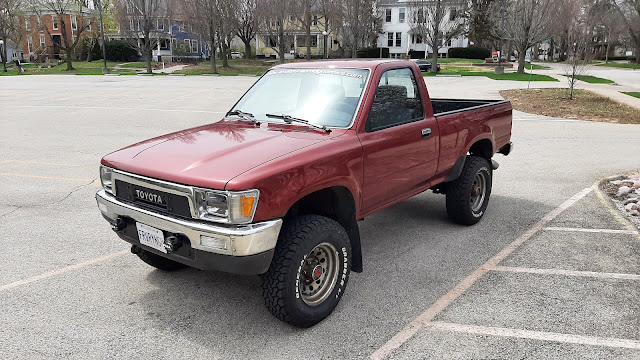
After a new timing chain, front axle, brakes, suspension
dampers, front valance and rear bumper, and other odds and ends, I drove it
over the mountains and back to Illinois.
 |
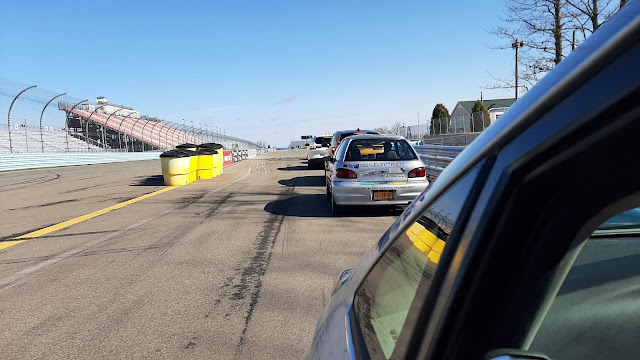
| Coeur d'Alene, ID, where this truck was originally sold at Parker Toyota. |
Surprisingly, fuel economy wasn’t that bad! The truck
averaged just under 25 mpg. But, I wondered, could I improve that? Is it
possible to reduce the aerodynamic drag of a truck like this? Measurably
reduce drag?
Making a Plan
Unlike my modifications of earlier cars, where I had
followed conventional Internet wisdom and guessed at what to change, I
wanted to test and measure the changes to this truck.
To do that, I decided to use throttle-stop testing to
measure changes in drag directly. I wired in a
throttle position sensor display and built a simple,
adjustable stop that fits under the throttle pedal. This allowed me to hold the throttle opening at a constant
angle, limiting engine power and giving the truck a top speed adjustable from
~90 kph to ~100 kph.
Next, I read several papers on CFD studies of generic pickup
trucks, wind tunnel testing of a Ford Ranger, air dam and cooling drag
optimization of the 2015 Ford F-150, and the development program of the 1988
Chevrolet C/K (which turned out to include a very interesting parameter study
of a wind tunnel model). I made a list and sketched several devices I wanted to
try: a deep front air dam, a tailgate spoiler, a cab roof spoiler, grill
blocking, mirror removal, rear wheel air dams, and a tonneau cover.
Testing
First, I needed to verify that the throttle stop would give
me good, repeatable results, allowing me to use this method to measure drag
changes. I identified a few miles of straight, flat, low-traffic road
(plentiful around here, fortunately) and went out several times, refining my
technique each time until I was able to get good repeatability. Testing windows
up against windows down, I found the following changes in speed at different
throttle openings:
|
|
1.22V
|
1.29V
|
1.33V
|
|
windows up
|
95 kph
|
96 kph
|
99 kph
|
|
windows down
|
93 kph
|
94 kph
|
96 kph
|
|
% change in drag
|
+4.2%
|
+4.1%
|
+6.0%
|
This suggests that lowering the windows on this truck
increases drag by around 4-5%. I can’t be any more exact than that—but there’s no
need! In real-world conditions, there’s too much natural variability to be as
exact as a wind tunnel or CFD; what I’m after is seeing whether a change
decreases or increases drag and approximately how big that decrease or
increase is. An important benefit of testing in the real world is that these are the
conditions the truck actually drives in: windy, on a real road, in a turbulent
atmosphere, past trees and buildings and windbreaks and other cars.
Just as important, the consistency of the results showed
that this method would indeed allow me to measure drag changes.
First Modifications
Since the windows up/down check was successful, I tested two
simple changes to begin, in the same session: removing the external mirrors and
blocking the air intakes at the front of the truck. I used the largest throttle opening to magnify the changes in drag and hopefully be able to measure them.
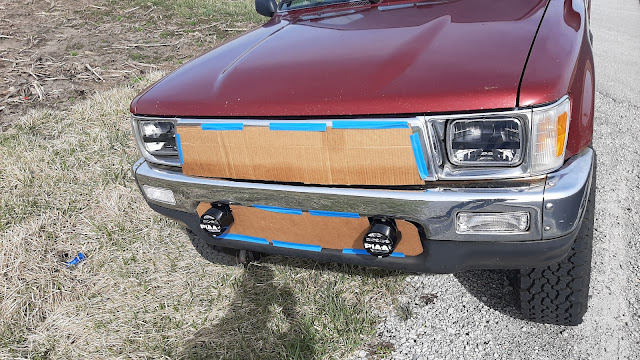 |
| Mockups for testing don't have to be pretty! Make them quickly and cheaply; you don't want to spend a lot of time and effort on something that turns out not to work. |
Results were as follows:
|
|
standard
|
no mirrors
|
grill block
|
no mirrors +
grill block
|
|
|
99 kph
|
100 kph
|
101 kph
|
101 kph
|
|
% change in drag
|
0.0%
|
-2.0%
|
-4.0%
|
-4.0%
|
These are about what I anticipated; trucks are higher drag
than cars, and on this truck—with its fairly small mirrors and grill opening—we
should expect that changing these will have less effect than on a more
streamlined car, where they will likely account for a higher percentage of the
overall drag.
One interesting thing to note is the result of blocking the
grill and removing the mirrors at the same time; there may be some interaction
there, or it may be that the actual change of both parameters isn’t enough to
show up in my measurements when added together. I expect subsequent tests (air dam, spoilers, etc.) to show
greater change than these two, which means they should show up more clearly in
results.
Fabrication
Since these first tests showed that blocking the cooling air
opening and removing the mirrors would in fact reduce drag, I went ahead and
made the changes permanent. I had to make a blanking plate to cover the
mounting holes for the stock mirror, so first I traced the outline onto a piece
of scrap paper:
 |
| Yes, those are the installation instructions for the driving lights. Remember what I said about being cheap? |
Then I cut that out and traced it onto thick plastic sheet,
trimming that carefully with a pair of shears:
 |
| If you're careful, shears can be a very versatile and delicate tool. Cheap plastic can be procured by purchasing storage bins and cutting them up. |
And finally, I caulked it into place:
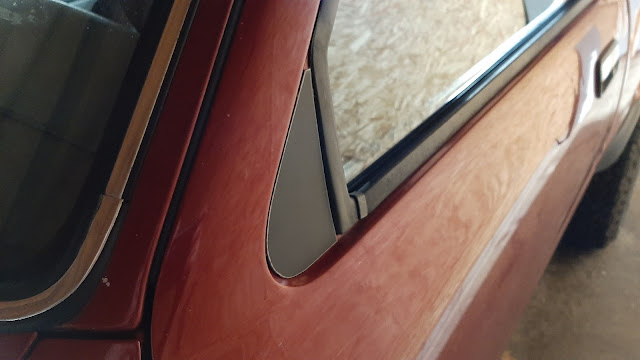 |
| That looks "almost professional," as we used to say in one organ shop where I worked. |
For the grill block, I reinstalled the sheet aluminum pieces
I had fabricated over the winter (the 22R-E is a cool-running engine, and I
wanted to speed warmup times and keep as much heat in the engine as possible; now I know there's an aerodynamic benefit as well):
The grill isn’t blocked completely, but the lower grill has
just two small openings and only the center section is open on the upper grill.
I’m happy with the small drag reduction this combination of mirror removal and grill blocking gives; the bigger gains will
come in the future with air dams and spoilers.
Update: I wasn't happy with the aesthetics of the aluminum sheet behind the grills, so I pulled those out and fabricated new grill blocks out of the same black plastic as the mirror plates. These fit on the outside of the grills, have no holes in the lower block, and cover part of the center section:
So far, reducing the opening to the small slot in the center hasn't affected coolant temperature, but if needed I can always remove one or more sections for the summer.
 |
| The nice thing about black plastic is its ability to blend in. Most people probably wouldn't notice the aeromods here. |


Did you check/verify if the alternator voltage has an effect on the TPS reading with the changes? Specifically, if the speed increased then the engine rpm would also increase and should raise the system voltage. Is the RPM change between between 99 and 96 kph enough to skew the TPS reading? Hopefully that was clearer than mud. I wouldn't think it would be a significant difference.
ReplyDeleteHi M_a_t_t, I haven't checked that but it's a good question. I would expect, like you, that with small changes in speed if there is a difference in system voltage (and it affects TPS-to-ECU signal voltage) it shouldn't be large--but I don't know that unless I measure it. I'll do some research and see if I can cover that in a future test.
DeleteI should also note that, even with the TPS voltage display, I'm still using a physical throttle stop in all these truck tests. The display is just to check that the stop hasn't shifted or broken between tests, and so far the readout has been consistent even over large changes in speed, ~80 kph to ~101 kph.
Alternator output should not affect regulated reference voltage used for testing and other sensors
Delete