Setting out to modify your car’s aerodynamics can be
daunting. Where should you start? What should you do first? What changes will
give you the most bang for your buck?
Unfortunately, you’ll find a variety of answers to these
on the internet—many of which will consider themselves the definitive,
correct response, and most of which aren’t based on actual data or first-hand
experience. Ignore them.
Identify Goals
The first thing you should do is identify your goals. If you don’t have something in mind you want to
accomplish, you can’t plan out a way to get there. And the more specific you
can be about where you want to end up, the better ability you will have to make
effective modifications that accomplish your goals. Take some time first to
identify these. Then, make a testing plan: what changes you want to test, how
you will test them, and what you will do if the tests are successful or not. This
plan can change as you go along (my plans change every few weeks or so as I
finish more testing), but it’s important to have something down on paper so you
have some direction.
Test Effectively
To get trustworthy results from your tests, you will need
to control as many variables as possible. You have some influence over these
both in how you plan your testing and how you carry it out.
 |
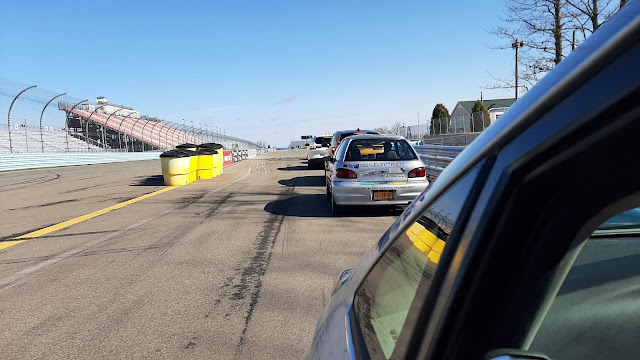
| About as perfect a road for testing as you will find anywhere. This first mile has a slight downward slope to the next intersection, after which it is flat and level for nearly a mile. |
First, identify a good road or roads on which you can
test. Ideally, these should be flat, straight, and lightly travelled by other
traffic. The influence of a passing car can be enough to mess up your results,
depending on what you are testing and how sensitive it is to changes in
airflow. Similarly, even slight road grades (up or down) alter the resistance
force acting against a typical car much more than even large changes in
aerodynamic drag, and the vertical forces more than even a significant change
in lift—so be cognizant of this and find a flat road if you can. You will also
need a long enough road that you can get up to test speed, measure whatever it
is you are interested in, and still have enough room to stop and turn around to
go back to your starting point and do it again. I suggest 1 mile at a minimum;
some tests (like coastdowns or throttle-stop) I use a 2-mile stretch to give myself enough room
to get up to speed, do the test, and then turn around.
Once you have identified a suitable road, you will need
to watch the weather forecast to see when conditions will be appropriate for
testing. Most often, this will mean stable temperatures and low winds, but
sometimes you might want a windy day. Play it by ear;
sometimes the forecast for a particular day changes by the hour in the days leading up to it.
If you have trouble finding days with good conditions,
one thing you might try is to test at night. Winds are usually lower overnight,
and temperatures are often stable for hours at a time. Additionally, traffic
tends to be lighter at night, making it sometimes an ideal time to get tests
done.
Be consistent and rigorous. If a car messed up a run, do
it over. If the winds have changed, come back and try again another day.
Testing is no good if you can’t trust the results so do everything you can to
ensure they are reliable. Use road signs, telephone poles, mailboxes, or light
poles to ensure you’re starting a particular test at exactly the same spot each
time. Keep an eye on the outside temperature if your car displays it. Watch for
the movement of trees and grass, which can indicate that a wind has increased
or changed direction. Don’t be afraid to scrap it if circumstances beyond your
control require. You can always come back and try again another day.
Analyze
Once you have good results, you will need to analyze
them. Some tests don’t take much; throttle-stop testing, for instance, will
tell you immediately that drag went up or down based on the speed your car
achieves. Others will be more involved; for example, if you measured lots of
pressures on the body and now need to average results and compare locations to
see what actually happened, or if you have hundreds of tuft test pictures to
sort through. Use programs such as Excel to chart data and plot it visually,
which can sometimes make it easier to interpret. Identify new questions based
on your results of previous tests—don’t throw out old data! Finally, lay out a
modification scheme that fits with your goals for your car, based on the
results of your testing. Remember, no one else has exactly your car and exactly
your goals.
Just Do It
Most importantly, the only way to learn how to test is to
go out and do it. The same as learning to throw a baseball or play a musical
instrument, reading about how other people do it might give you a lot of
knowledge about the process but it will not give you the skills necessary to
actually do it. Just like music and sports, the joy is in doing and in
cultivating your own savoir faire. Try it!


Comments
Post a Comment